
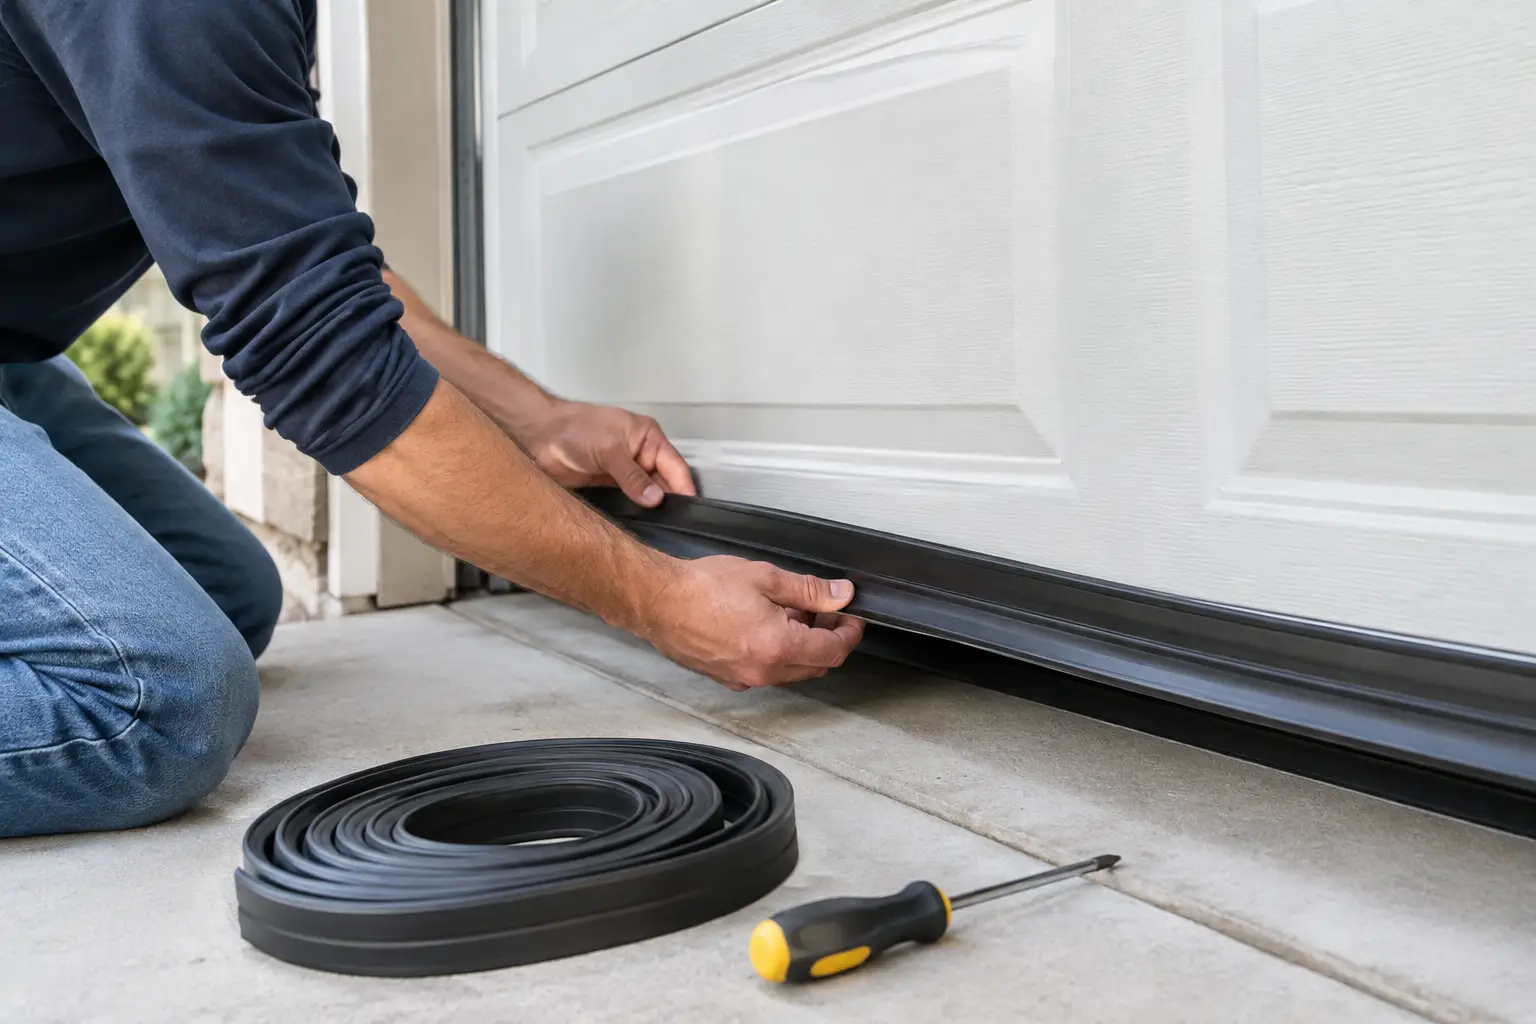
Daylight under a closed garage door is not just an annoyance. In Southern Ontario, that gap lets in wind-driven snow, rain, road salt, pests and cold air. If the rubber around your door is cracked, flattened or missing, it is time to replace garage door weather stripping before a small draft turns into a wet, uncomfortable garage.
The good news is that weather stripping is usually a straightforward fix. The part that causes trouble is choosing the correct seal and making sure the door itself is closing evenly. A new bottom seal cannot make up for a door that is crooked, bent or sitting too high on one side.
Signs it is time to replace garage door weather stripping
Start with the door closed during daylight. Look along the bottom edge, both sides and the top. A little uneven compression can be normal, especially on an older concrete floor. Clear gaps, curled rubber and visible daylight are not.
The usual signs are easy to spot: water trails on the garage floor after rain, snow blowing in, leaves gathering at the threshold, cold air near the door, or mice and insects finding their way inside. You may also notice that the bottom rubber has gone hard and shiny, has split at the corners, or stays crushed flat after the door opens.
Weather stripping also wears faster than many homeowners expect. Salt, grit, freeze-thaw cycles and a driveway that holds water all take their toll. A seal can look acceptable from inside the garage but fail where it meets the concrete outside.
Do not assume every gap means the seal is the problem. If one corner of the door hangs lower, the rollers are noisy, a cable looks loose, or the door reverses before it reaches the floor, stop there. Those are door or opener issues that should be corrected before fitting new weather stripping.
Know which garage door seal you need
“Garage door weather stripping” can mean several different parts. Matching the replacement to the existing setup saves time and avoids a seal that will not fit.
Bottom seal
The bottom seal is the flexible rubber or vinyl strip attached to the lower edge of the door. It is the main barrier against water, slush, drafts and pests. Some doors use a track or retainer that the seal slides into, while others use a seal that fastens directly to the bottom of the door with screws.
Look at the old seal before buying anything. If it slides into an aluminum or plastic channel, measure the width of the channel and note the shape of the seal's mounting edge. T-style, bead-end and U-shaped seals are common, but they are not interchangeable.
A wider bulb-style bottom seal can handle minor dips in an uneven floor because it compresses more. That does not mean bigger is always better. An oversized seal may drag, fold over or put extra strain on the opener if the door is already closing tightly.
Side and top weather stripping
The strips around the frame are often called stop moulding or perimeter seal. They sit against the face of the closed door, sealing the sides and top. This material is usually vinyl, with a flexible flap that presses against the door.
If the flap is brittle, torn, pulling away from the wood or aluminum frame, or no longer touching the door, replace it. Perimeter weather stripping is particularly useful on garages that feel cold around the edges even when the bottom seal looks fine.
Threshold seal
A floor-mounted threshold is a raised rubber strip bonded to the concrete. It is useful when the floor has a low spot, when rain runs toward the garage, or when the bottom edge of the door cannot seal evenly across the full width.
It is not the first fix for every garage. A threshold can help with shallow water and small floor irregularities, but it will not solve a damaged bottom retainer or a door that is out of level. It also creates a small bump at the entrance, which matters for wheelchairs, strollers, snow blowers and low-clearance vehicles.
How to replace a garage door bottom seal
Replacing a bottom seal is a manageable homeowner job when the door is operating normally and you can safely reach the work area. Plan for a mild, dry day if possible. Cold rubber is stiff, and a wet floor makes the job harder.
First, close the door fully and disconnect the opener only if you need to move the door by hand. Do not loosen brackets, cables, springs or bottom fixtures to do this job. Bottom brackets are under spring tension and are not part of a weather-strip replacement.
Measure the door width, then buy a seal slightly longer than needed. You can trim it after it is installed. Clean the bottom retainer thoroughly, removing packed dirt, old rubber fragments and corrosion. A blocked track is one of the main reasons a new seal will bunch up instead of sliding through.
For a slide-in seal, lightly lubricate the retainer with a product that is safe for rubber and follow the seal manufacturer's direction. Feed the new seal through from one end with a helper supporting the length so it does not twist. Pull it evenly until it extends past both ends, then trim it flush with a sharp utility knife.
For a screw-on seal, remove the old fasteners carefully, position the new material straight across the bottom edge, and fasten it according to the manufacturer’s spacing. Keep the seal flat while you work. If it is stretched tight during installation, it can shrink back and leave gaps at the corners later.
Once it is in place, run the door through a full open-and-close cycle. From inside, check whether the rubber makes consistent contact with the floor. From outside, look for folds, dragged edges and places where the seal is pushed underneath itself.
Replacing side and top seals without creating friction
Perimeter weather stripping needs to touch the door, not squeeze it. Too loose and air comes through. Too tight and the door can rub, squeal or bind as it travels.
Remove the old stop moulding one piece at a time so you have a reference for placement. If the frame is wood, inspect it for rot before installing the new strip. Fasten the top section first, then the sides. Close the door and position the flexible flap so it rests evenly against the door face.
Use small adjustments as you go. The seal should flex when the door closes, but it should not be bent sharply backward or dragged upward by the door. Test the door several times before calling the job finished.
When a new seal will not solve the problem
A garage door seal has one job: fill small gaps around a properly operating door. It cannot correct mechanical problems, damaged panels or major drainage issues.
Call for service if the door is visibly crooked, does not close to the floor, has a bent bottom retainer, or has damaged rollers, tracks, cables or hinges. The same applies if the opener reverses after you install a thicker seal. The opener's closing force or travel settings may need adjustment, but those settings should not be used to force a door through a mechanical problem.
If you have water entering during heavy rain, check the driveway slope and nearby eavestrough drainage as well. A new seal may reduce the amount of water getting in, but water repeatedly flowing toward the garage needs an exterior drainage solution.
A better seal starts with a properly closing door
For homeowners who want the job handled quickly, Summit Garage Door can inspect the seal, bottom retainer and door alignment together, then provide a straight quote before work begins. That matters when the visible gap is actually a worn roller, damaged track or door that has shifted out of level.
After replacement, keep the area along the threshold swept clear of gravel, salt and leaves. Rinse winter grime from the rubber when temperatures allow, and check the seal each fall before the first hard freeze. A few minutes of maintenance helps the new material stay flexible and gives you a chance to catch a gap before snow, water and cold air start using it as an open door.